Photographing a wild plant for iNaturalist: one plant, one record
Which photos make a plant identifiable, how to group them into one iNaturalist observation, when to mark it cultivated and how records reach Research Grade.
Sources checked - 8 October 2026
In this article
iNaturalist turns a phone photo of a wild plant into a shared biodiversity record. Other people check your pictures, suggest or confirm a name, and the best-documented observations flow on to scientific databases. Whether yours gets that far depends less on how pretty the photo is than on whether it shows the features a botanist needs, gathered as one plant, from one encounter, with its real date and place (how to make an observation).
Photos that make a plant identifiable
A single close-up of a flower is often hard to name, because related species can share similar flowers and differ in their leaves, stems or fruit. Think of the set of pictures as a short description:
| Shot | What it shows identifiers |
|---|---|
| Whole plant in its setting | Size, growth form, habitat: woodland floor, wet meadow, roadside, rock crevice |
| Leaves, top and underside | Shape, edges, hairs, veins, and how leaves are arranged on the stem |
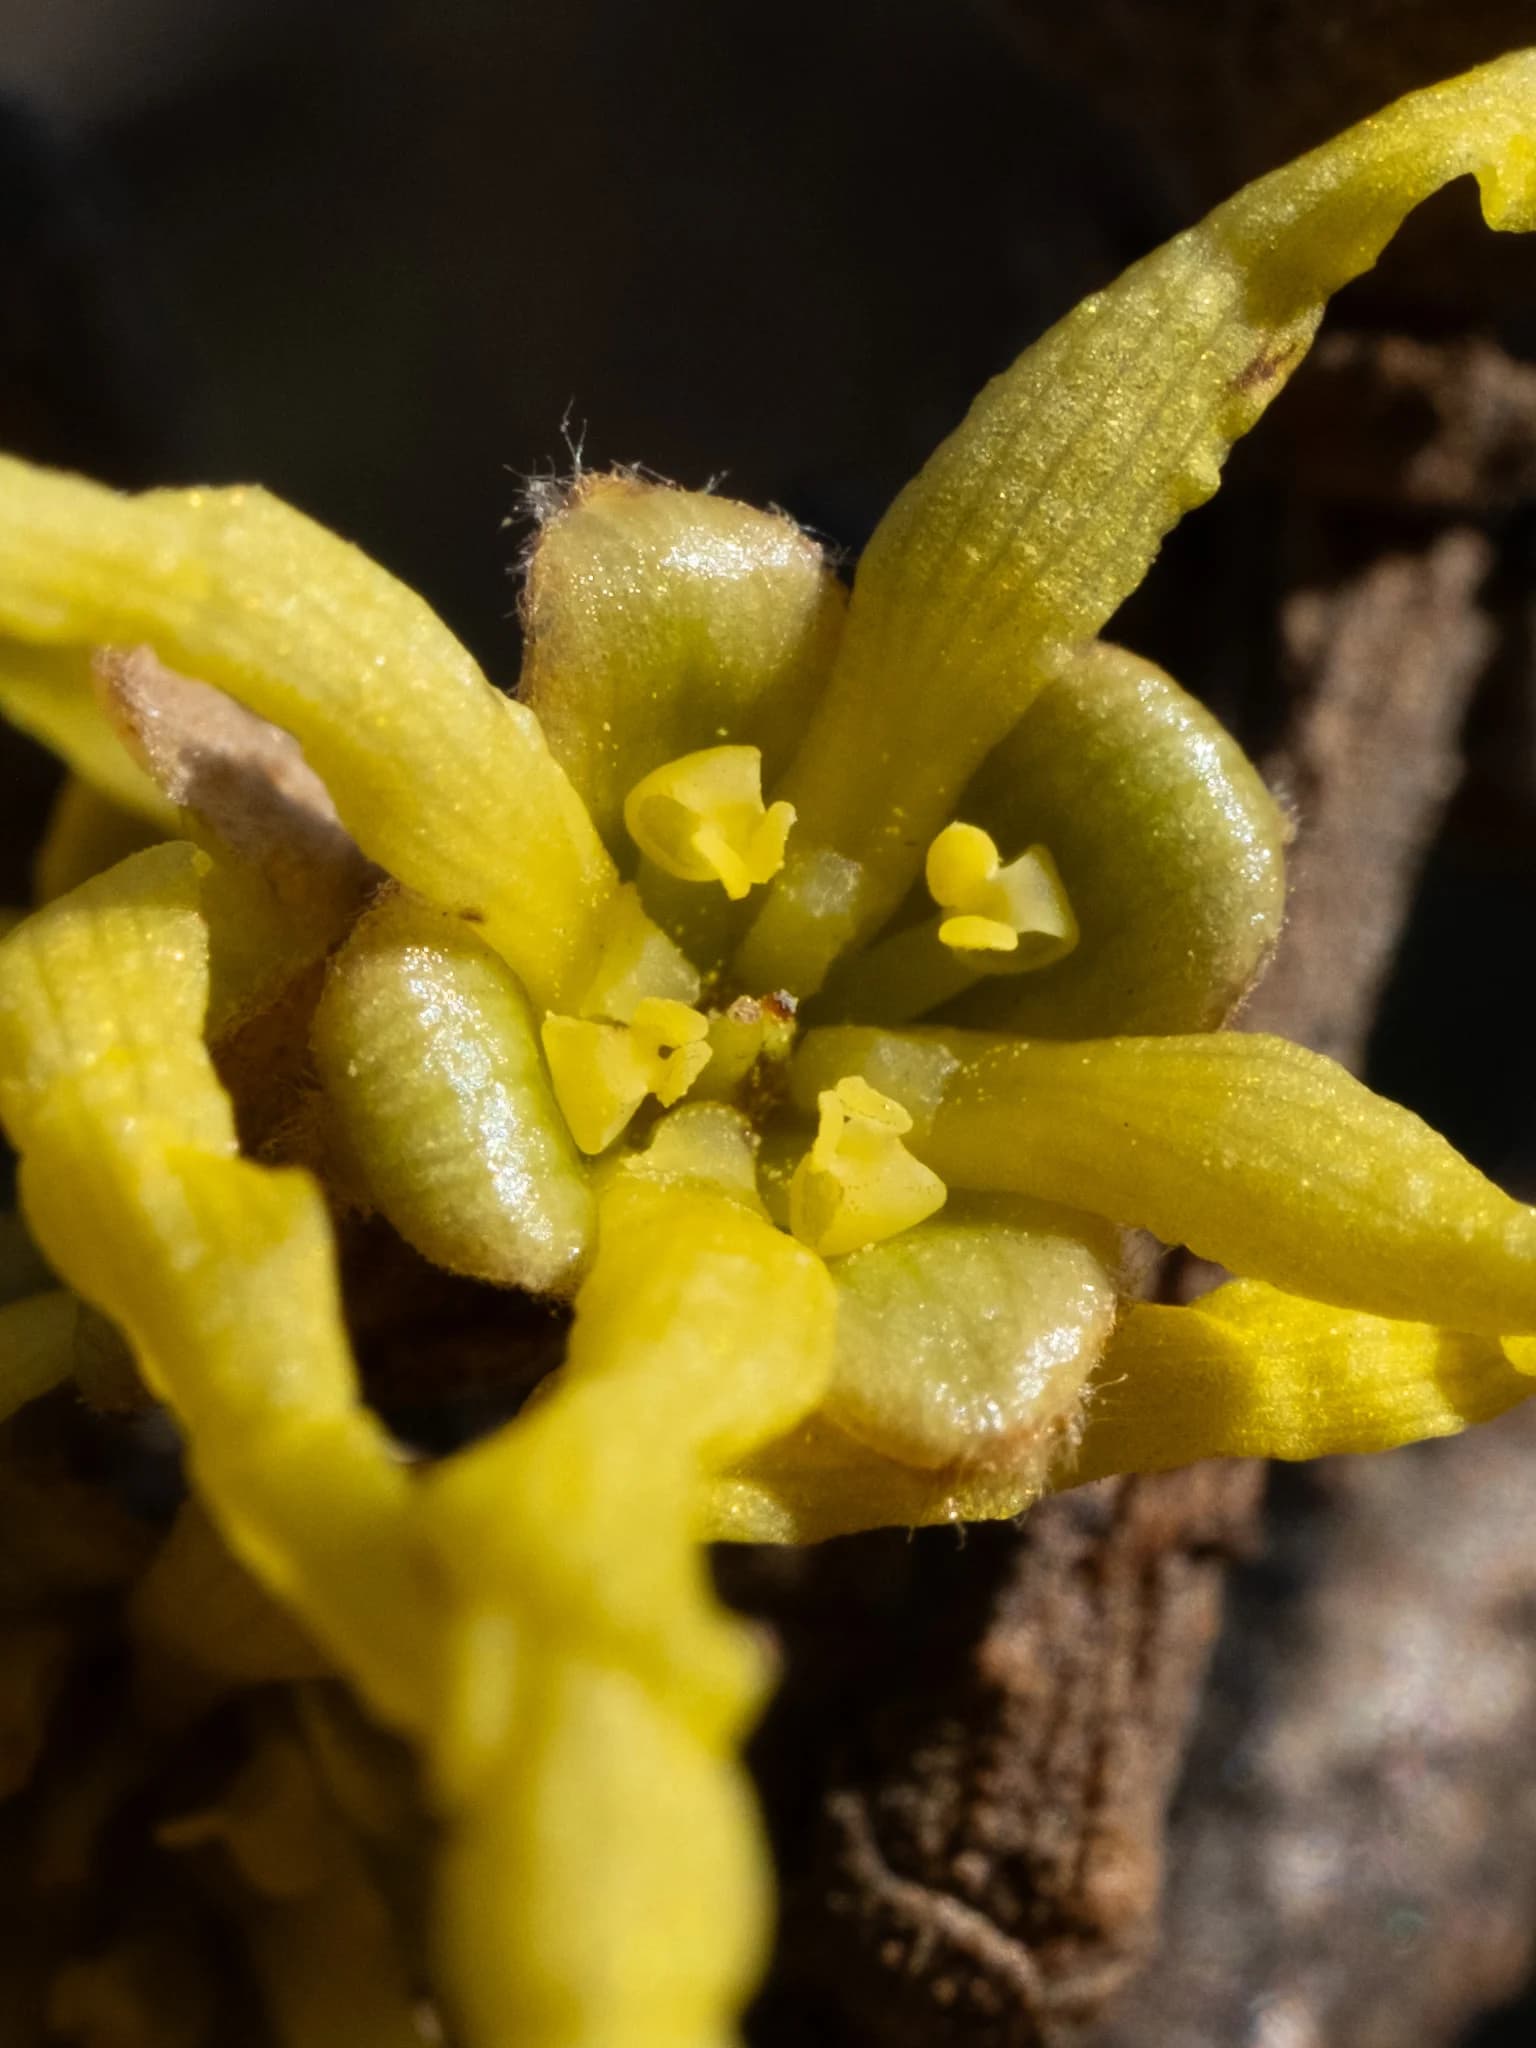
| Flower, face-on and from the side | Number and shape of petals, the parts behind the petals |
| Fruit or seed heads, if present | Often decisive for grasses, sedges, umbellifers and trees |
| Stem or bark | Square or round stems, hairs, thorns, bark texture |
| Something for scale | A hand, a pen or a ruler next to a leaf or flower |
Sharp focus on the right part matters more than a perfect background. If the plant is not flowering, photograph what is there: leaves, buds, last year's fruit, bark. A record of a non-flowering plant with clear leaves is still useful. Take the pictures where the plant grows; there is no need to pick it to get a better shot.
You can also write short public notes about things a photo cannot show, such as smell, a sticky feel or the height of a tall shrub (edit-observation guide).
One plant, one observation
Each observation should cover a single individual organism. Two plants of the same species growing side by side are two observations; three views of the same plant are one (observation guide).
When you import photos into the current iPhone app, the Group Photos screen shows how many observations the batch will create. Select the photos of the same plant and combine them; up to 20 photos can go into one observation, as long as they show the same organism from the same encounter. Leave photos of other plants as separate observations (iPhone app guide). Check the counter at the top before you continue, then check that the observation actually uploads rather than sitting in the app as unsaved.
Fill in the record honestly
| Field | What to check |
|---|---|
| Date | The day you saw the plant, which matters if you upload later |
| Location | The marker sits where the plant was, with a realistic accuracy circle |
| Identification | The most specific name you can support; "Plants" or a family is fine |
| Captive/cultivated | Ticked if a person deliberately planted it there |
Date and location are added automatically from the photo or the phone, but they are only as good as that data (edit-observation guide). The app's automatic suggestions are a good starting point; compare the suggested species with your leaf and stem photos before you accept one. A broad identification that is right helps more than a precise one that is wrong, and the community can take it further.
Wild or cultivated?
iNaturalist asks one question: is the plant there because people intended it to be? Garden flowers, park plantings, street trees and anything grown from sown seed count as captive/cultivated. Weeds in a flower bed, self-sown offspring of planted trees and garden plants that have spread on their own beyond the garden count as wild (captive/cultivated explained). Cultivated records are still accepted, but the flag keeps them from becoming Research Grade, which is exactly what it is for.
How an observation reaches Research Grade
An observation becomes Needs ID when it has a date, a location, photos or sound, and is not marked captive or cultivated. It becomes Research Grade when more than two thirds of identifiers agree on a species-level name, or when the community agrees on a name between family and species and votes that it is as good as it can be (data quality assessment).
Research Grade observations can be shared with the Global Biodiversity Information Facility (GBIF), but only if their licence allows it: CC0, CC BY or the default CC BY-NC. If you have chosen a more restrictive licence, even excellent records stay on iNaturalist (licences on iNaturalist).
Not every plant can be named from photos. Some groups need a microscope or a specimen, and an observation that stays at genus level is still a valid record of where and when that plant grew.
Choose how much location to show
Keep the true location in the record and use the geoprivacy setting to control what the public sees:
- Open: the exact location is public.
- Obscured: the public sees only an approximate location, widened to a cell of 0.2 by 0.2 degrees, roughly 500 square kilometres at the equator.
- Private: no location is shown publicly.
iNaturalist obscures threatened species automatically, such as orchids targeted by collectors. People you explicitly trust, projects you trust and affiliated iNaturalist Network partners can still see true coordinates. Obscuring has limits: a landmark in a photo, a note or a set of nearby open observations can give a location away (geoprivacy explained). For a rare plant, check the background of your photos as well as the setting. Help pages were checked on 8 October 2026; app screens change from version to version.
Sources & further reading
- How to make an observation - iNaturalist
- iNaturalist iPhone app - making observations - iNaturalist
- iNaturalist iPhone app - the edit observation page - iNaturalist
- What does captive / cultivated mean? - iNaturalist
- What is the Data Quality Assessment and how do observations qualify to become Research Grade? - iNaturalist
- How do licenses work on iNaturalist? - iNaturalist
- What is geoprivacy? - iNaturalist
Tags
- iNaturalist
- citizen science
- plant photography
- plant identification
- biodiversity data